with Google DialogFlow
- AIPlayerWithDialogFlowDemo.java
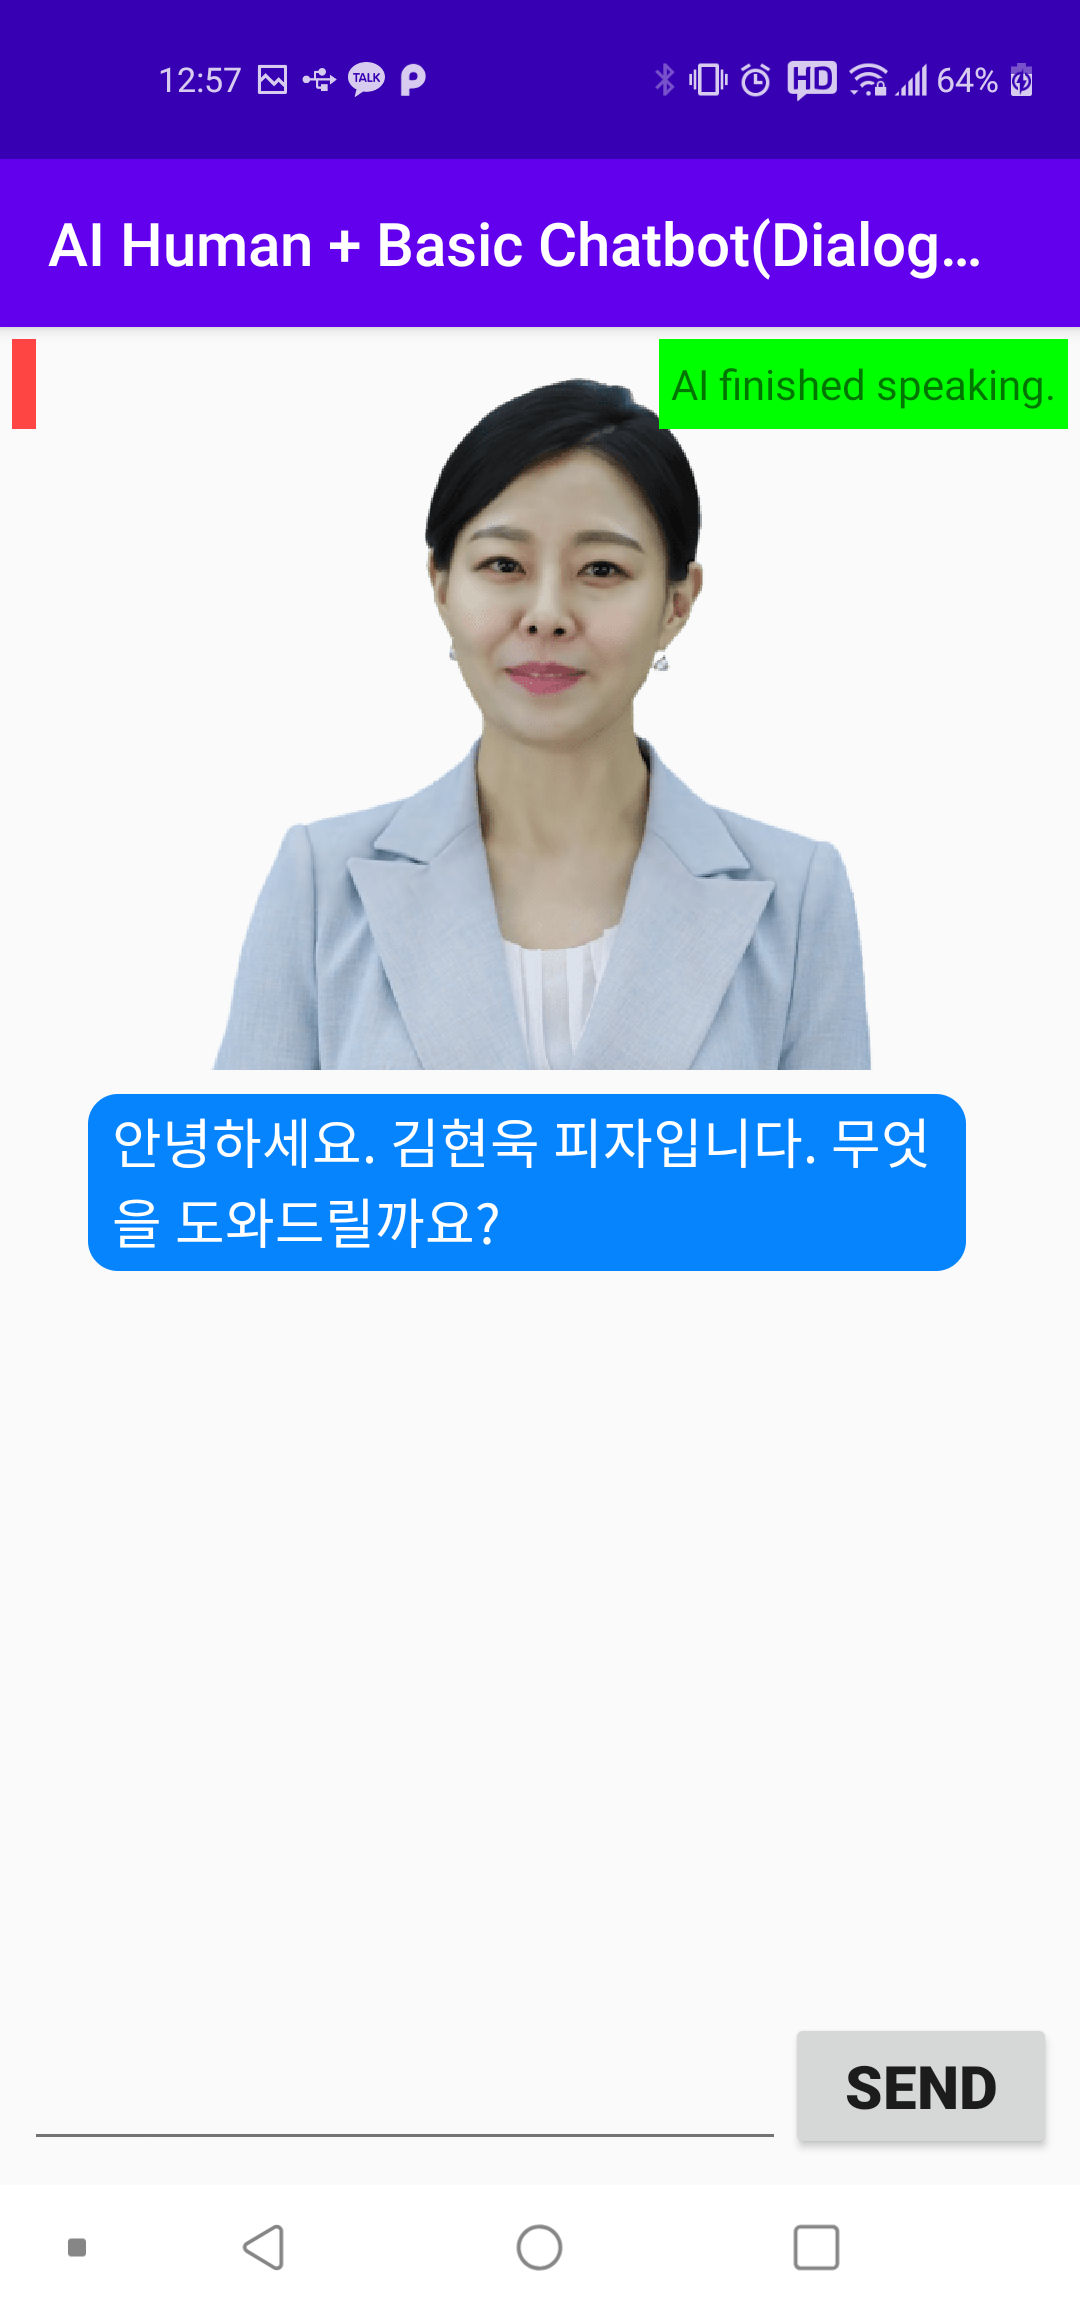
Next, AIHuman + DialogFlow (Google Chatbot) is a good example that shows the potential of AIHuman SDK. Within this activity, it provides a function to chat with the AI. Dialogflow Originally is a chatbot that provides a text chat service to users, but in this example, the chatbot speaks through an AI model. That is, when the user inputs a sentence, the AI on the screen delivers the response content from DialogFlow in a form of speech. (In some countries, it is not possible to use google's DialogFlow.)
To set up, go to the DialogFlow service first, create a chatbot you want, and then simply download the credential json file and set it as follows.
1. Set up the AI and UI.
First, get a list of available AIs and then set up the UI.
@Override
    protected void onCreate(@Nullable Bundle savedInstanceState) {
        super.onCreate(savedInstanceState);
        binding = AiplayerWithDialogflowChatbotDemoBinding.inflate(getLayoutInflater());
        setContentView(binding.getRoot());

        //...
        AIModelInfoManager.getAIList((aiError, resp) -> {
            /* resp
            {"succeed":true,
              "ai":[{"aiName":"vida","aiDisplayName":"Vida","language":"en"},
              {"aiName":"bret","aiDisplayName":"Bret","language":"en"},
              {"aiName":"danny","aiDisplayName":"Danny","language":"en"},
              {"aiName":"samh","aiDisplayName":"Samh","language":"en"},
              {"aiName":"kang","aiDisplayName":"Kang","language":"ko"}]}
             */

            if (aiError == null) {
                initThis();
            } else {
                Log.d(TAG, "onFinishedWithList: getAIList error: " + aiError);
            }
        });
    }

    private void initThis() {
        initAIChatbotController();
        initUIs();
    }
2. Configuration of Chatbot.
First, create a DialogFlow chatbot with 'new DialogFlowChatbot()'.
Get the Dialogflow credential file.
DialogFlow can be used by creating a service on Google's corresponding service site. When you create a service, you can get a credential file (json file). After downloading the file, put this file in the assets directory of your app. (If the assets directory does not exist, right-click on the app directory of the project > New > Folder > Assets Folder to create it.)
Set the credential file for chatbot.
If you put the received file in the assets directory, now enter the name of the file as a JSON value in the "dialogflow_google_credential.json" part as shown below. Then use this JSON to create ChatbotSettings. This becomes the first argument of the init(,) method.
Create chatbot's callback and call 'init(,)' method.
Chatbot callback (iChatbotCallback) is a callback that reports chatbot's status changes, errors, and more. Create an instance with the new operator and put it in the chatbot.init(,) method with the ChatbotSettings instance as follows.
When ChatbotState.SESSION_INITIALIZED reaches the onChatbotStateChanged method, it is ready and you can send and receive messages to the DialogFlow service.
private void initAIChatbotController() {
    //...
    //google DialogFlow chatbot create and setup
    IChatbot dfChatbot = new DialogFlowChatbot(this);
    JSONObject chatbotJson = new JSONObject();
    try {
        chatbotJson.put(KEY_DIALLOGFLOW_GOOGLE_CREDENTIAL_ASSET_FILE,
                "dialogflow_google_credential.json");
    } catch (JSONException e) {
        e.printStackTrace();
    }
    dfChatbot.init(new ChatbotSettings(chatbotJson,
                    IChatbot.ChatbotType.ENGIN_BASED_DIALOGFLOW), iChatbotCallback);
    //...
}

/**
  * Chatbot(DialogFlow)s' callback
  */
private IChatbotCallback iChatbotCallback = new IChatbotCallback() {
/**
  * Called when Chatbot's state changed.
  * @param state. You can subclass the ChatbotState class when you needed.
  */
  @Override
  public void onChatbotStateChanged(ChatbotState state) {
    if (state.state == ChatbotState.SESSION_INITIALIZED) {
        aiChatbotCtlr.setChatbotReady(true);
      }
    }
    //...
};
3. Send message to Chatbot(DialogFlow).
You can send a message by calling the send(Constants.CMD_QUERY, JSONObject) method to the chatbot as shown below. The desired text and language code is added as a "query" key of JSON (Constants.KEY_QUERY in this case) and sent.
    JSONObject json = new JSONObject();
    try {
        json.put(Constants.KEY_QUERY, query);
        json.put(Constants.KEY_LANGUAGECODE, languageCode);
    } catch (JSONException e) {
        e.printStackTrace();
    }
    bSent = chatbot.send(Constants.CMD_QUERY, json);
Manage AIPlayer and Dialogflow chatbot in one class
As shown above, you can send a message to Dialogflow. After sending the message, the chat window is updated. Once a response is received from DialogFlow, you need to send it to AIPlayer to make the AI read the response.
Because AIPlayer and Dialogflow chatbot work closely, a class (AIChatbotController) was created in order to control these classes. The activity does not directly control AIPlayer or Chatbot, but controls AIChatbotController to perform desired actions. It is written to reduce complexity.
4. Conversation with AI.
Chat with AI (get response from DialogFlow and talk with AI)
Send a message from Dialogflow by calling aiChatbotCtlr.sendNewQuery(text). The response to the message comes with the onChatbotMessage() method of iChatbotCallback. When this is passed back to the aiChatbotCtlr.onChatbotMessage(), internally, actions such as talking to AIPlayer and adding chat are performed.
private void initUIs() {
    binding.chatSendBtn.setOnClickListener(view -> {
        if (aiChatbotCtlr.isChatReady()) {
            String text = binding.chatEdittext.getText().toString();
            if (!text.isEmpty()) {
                aiChatbotCtlr.sendNewQuery(text);
                binding.chatEdittext.setText(null);
            }
        } else {
            binding.aiStateTxt.setText("Chatting is not ready");
            binding.aiStateTxt.setBackgroundColor(Color.RED);
        }
    });
}

/**
 * Chatbot(DialogFlow)'s Callback
*/
private IChatbotCallback iChatbotCallback = new IChatbotCallback() {
    //...
    @Override
    public void onChatbotMessage(JSONObject response) {
        aiChatbotCtlr.onChatbotMessage(response);
    }
  //...
};

private class AIChatbotController implements LifecycleObserver {
    //...
        public void onChatbotMessage(JSONObject resp) {
            if (resp != null) {
                sendAIMessage(resp.optString(Constants.KEY_MESSAGE));
            }
        }
}